This article will describe how you can add, modify or delete an e-mail auto-responder.
Contents:
Create an e-mail auto-responder
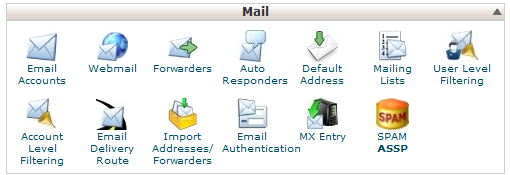
To create an e-mail auto-responder, you will first need to login to cPanel. Once logged in, navigate to Mail >> Auto-Responders.
Next, select Add Auto-Responder.

Next, follow these instructions to create your auto-responder:
- Click the Character Set pull-down menu and select the appropriate character set. (If you are unfamiliar with character sets, we recommend using the default)
- Enter the Interval, in hours, for the auto responder to wait between responses to the same email address.
- Enter your email address in the Email field.
- Click the domain pull-down menu and select the appropriate domain.
- Enter your name in the From field.
- Enter your message subject in the Subject field.
- Click the HTML Message box if you are including HTML in your message.
- Enter your message in the Body field.
- Note: In your message, you can include tags that will automatically insert information about the received email:
- %subject%: The subject of the message that was sent to the auto responder.
- %from%: The name of the sender of the message received by the auto responder (if the sender’s name was not received, from will replace it with the sender’s email address).
- %email%: The sender’s email address.
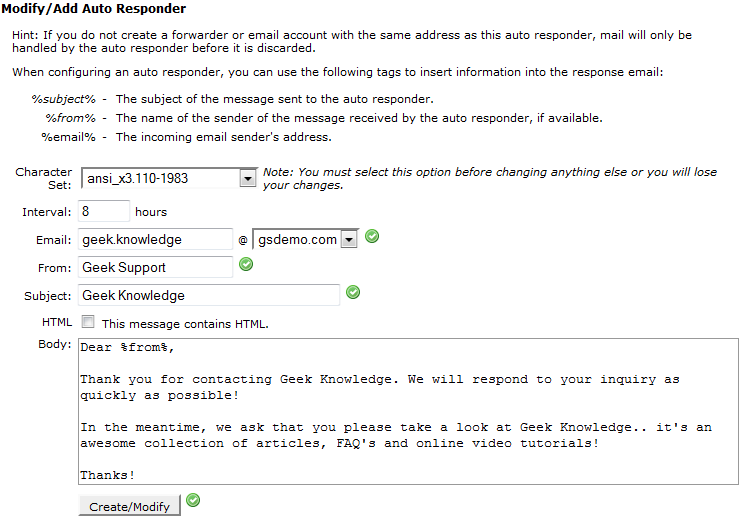
Select Create/Modify when you are done.
You have now successfully created an auto-responder for your e-mail.
Modify an e-mail auto-responder
To modify an e-mail auto-responder, you will first need to login to cPanel. Once logged in, navigate to Mail >> Auto-Responders.
Next, select find the auto-responder you would like to edit in the list and then select the Edit function.

Next, adjust the fields you would like to modify.
Select Create/Modify when you are done.
You have successfully modified an e-mail auto-responder.
Delete an e-mail auto-responder
To delete an e-mail auto-responder, you will first need to login to cPanel. Once logged in, navigate to Mail >> Auto-Responders.
Next, select find the auto-responder you would like to delete in the list and then select the Delete function.
Next, confirm the auto-responder to be deleted and then select Delete Auto-responder.

You have successfully deleted an e-mail auto-responder.

Have any questions?
If you have any questions or need assistance, please contact Geek Support.
Your comments can help make Geek Knowledge better for everyone. Please take a few moments to comment on this article if you found it helpful or feel it needs improvement. Registration is not necessary.
 Categories